Hugin - Creating 360° enfused panoramas
This tutorial is a preview of features in the upcoming 0.7.0 Hugin release, likely the final release will have a slightly different appearance and layout, but the concepts will remain the same.
Enfuse is a tool for merging bracketed exposures and assembling a composite image containing the best exposed bits of each. This is particularly useful when building a 360° panorama where the normal result is often both over and under-exposed areas at the same time. Hugin 0.7.0 includes complete support for creating Exposure Blended images with enfuse.
So the first step is to shoot your panorama. I'm using a cheap Peleng fisheye lens on a Nikon D100, and I tend to shoot everything hand-held using the technique described here as I don't want the hassle of carrying a tripod and panoramic head around.
Note that unlike HDR creation which is a very similar process, exposure blending with enfuse is tolerant of minor misalignments caused by hand-held parallax errors.
Most digital SLRs have the option to shoot a bracketed series, I've set this camera to first shoot the 'normal' exposure, then a -2EV darker version and finally a +2EV lighter version. In this case this results in the camera shooting at 1/60, 1/250 and 1/15 seconds.
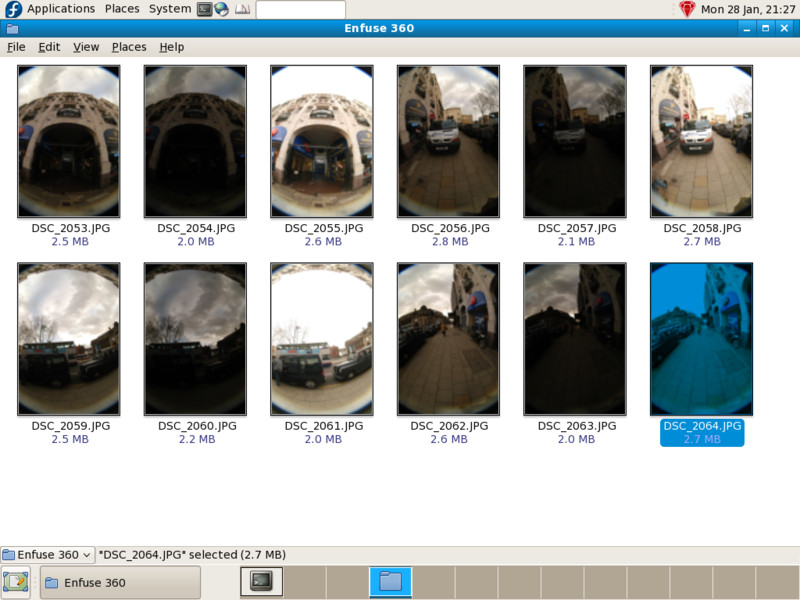
You can see the results here, notice that I've taken the bracketed shots for one direction, turned and taken the bracketed shots for the next direction etc...
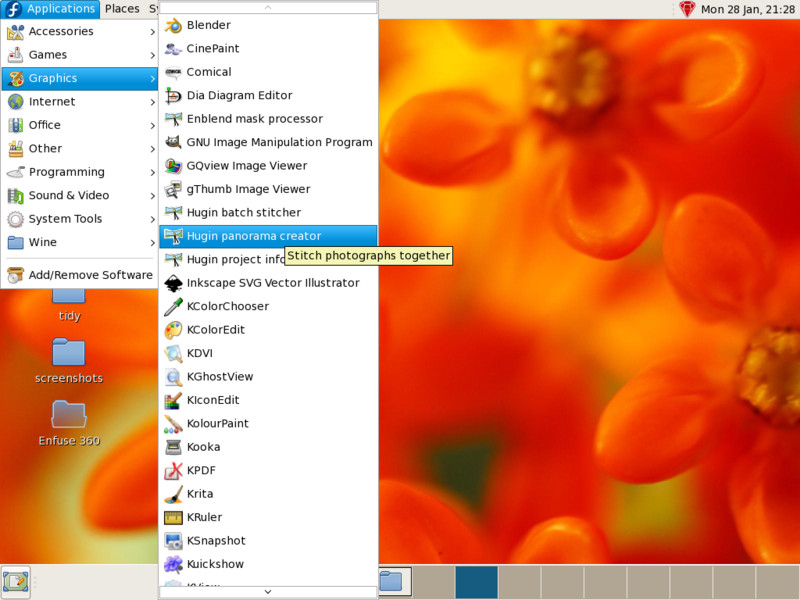
The first thing to do is to start Hugin with an empty project. I'm doing this on a Fedora 8 Linux machine, though the process should be the same on Windows or OS X.
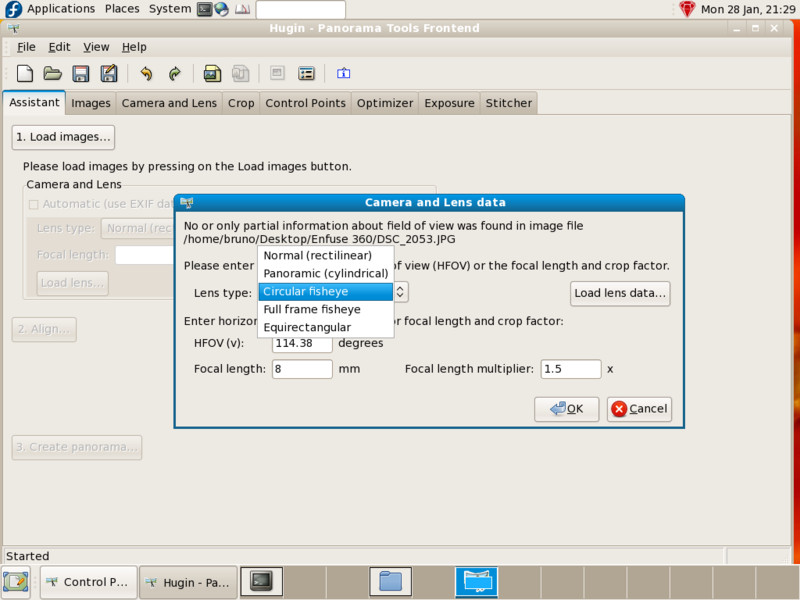
Click Load images... and select all the photos that make up this project. The order of the files doesn't matter

The Peleng lens is completely manual so there is no EXIF data that Hugin can use to determine the photo geometry, but I know the lens is a Circular fisheye, the focal length is 8mm (it's written on the side) and the Nikon D100 is a 1.5x crop factor sensor. This should be enough information to start with, Hugin can adjust it later on.
Note: I do actually have this lens calibrated and could apply these calibrated settings by using the Load lens data... function but there is really no need for a simple panorama like this.
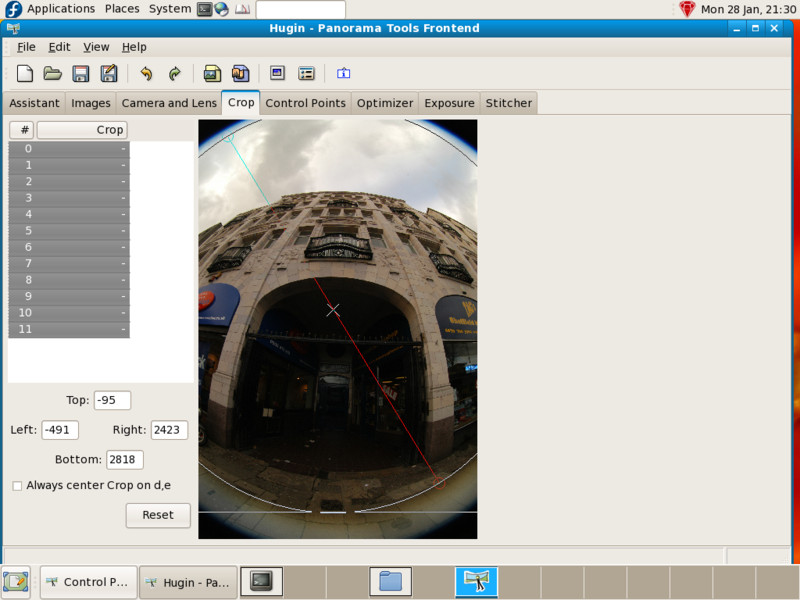
The next step is to tell Hugin where the fisheye circle is in the photos, switch to the Crop tab, select all the photos at once and expand a circle to exclude the black areas outside the image area.
Note that the Peleng has ugly flares usually on the bottom of the photo, so I'm actually drawing an off-centre crop circle to exclude these too - This is done by unselecting Always center Crop on d,e before expanding the crop area.
Unfortunately the SIFT algorithm used in autopano-sift is patent encumbered in the United States, so this project has been aligned by creating manual control points (otherwise, if you do have this or a similar tool installed then you can skip the following section by clicking the Align... button on the Assistant tab).
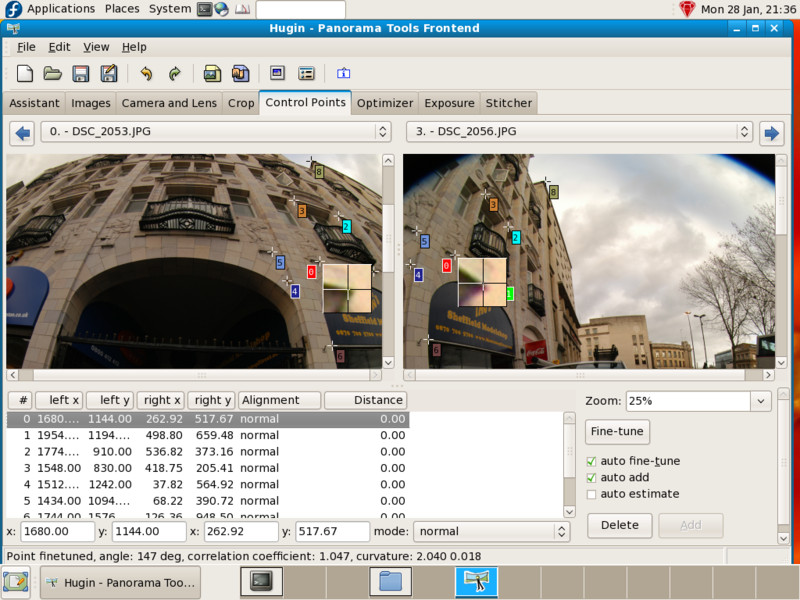
The alignment technique I used is to align each set of three bracketed photos as a stack, then picking just one picture from each of the four stacks and aligning these together just like a normal panorama.
So for each stack, the reference 0EV image was connected to the +2EV image and then to the -2EV image.
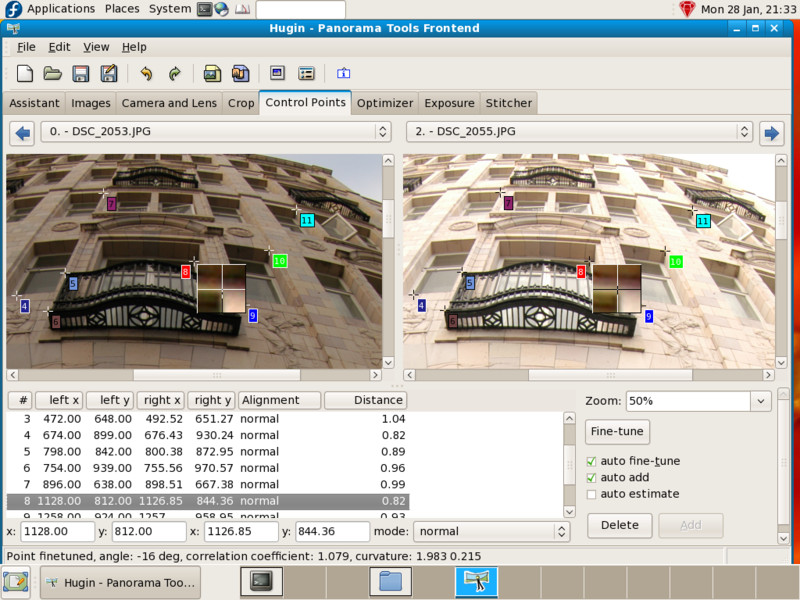
Once this is done for each of the four stacks, all that is needed is to set control points between each of four 0EV images using the usual technique for aligning panoramas.
Tip: Control points between fisheye images almost always have a lot of rotational variation, so if you want auto fine-tune to work then enable File -> Preferences -> Finetune -> Rotation Search.
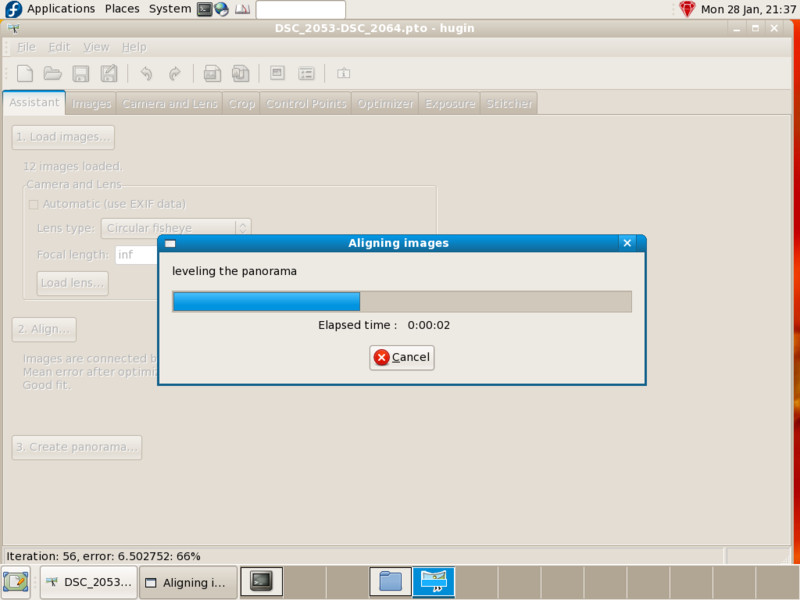
The next thing to do is to switch back to the Assistant tab and click Align..., then wait for Hugin to finish aligning the images, leveling the panorama and estimating photometric parameters.
Now open the Preview window and set the HDR Output, this shows all the images using their correct relative brightness - The tonemapping is logarithmic which is why everything looks washed out.
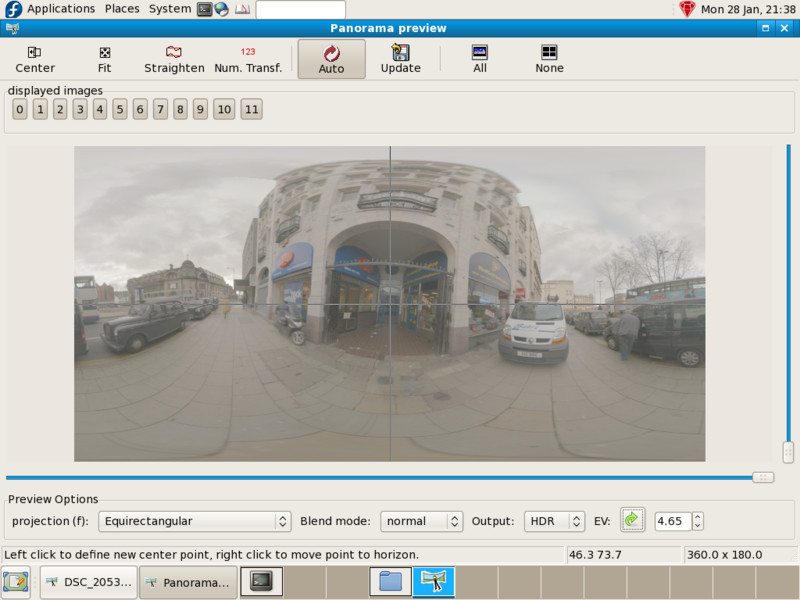
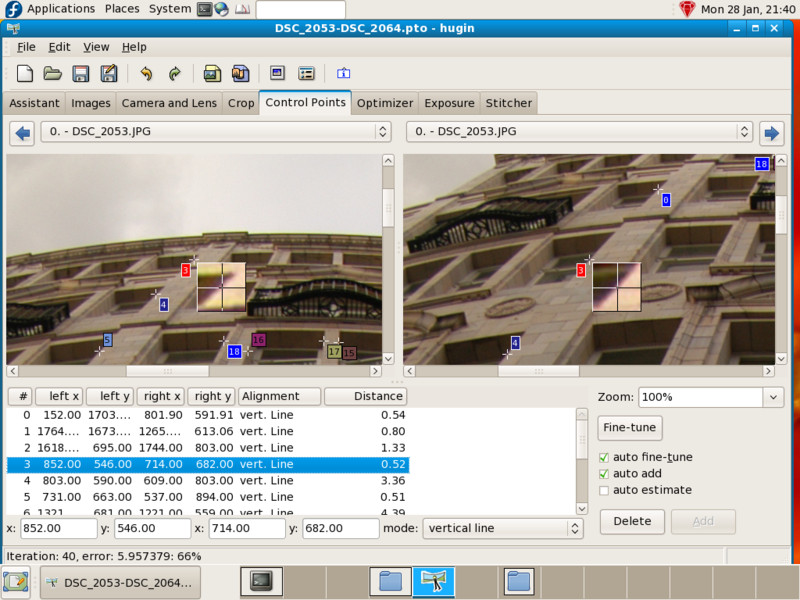
The panorama is a bit wonky, the solution is to locate vertical features in the scene and set vertical control points in the Control Points tab:
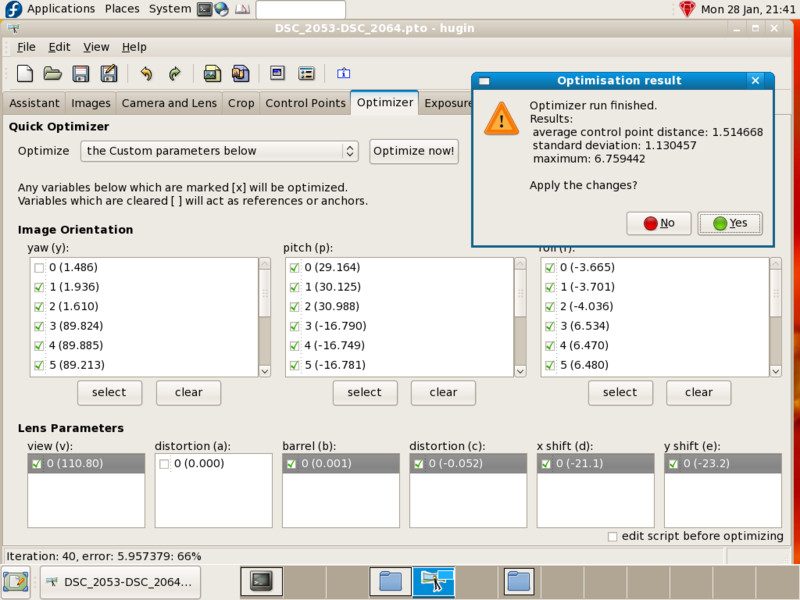
The project needs to be reoptimised to take account of the new vertical control points, this is done by switching to the Optimizer tab, selecting Optimize Custom parameters, roll (r), pitch (p), view (v), barrel (b), x shift (d) and y shift (e). Then clicking Optimize now!.
Note I've also optimised distortion (c) in this case, this isn't always necessary.
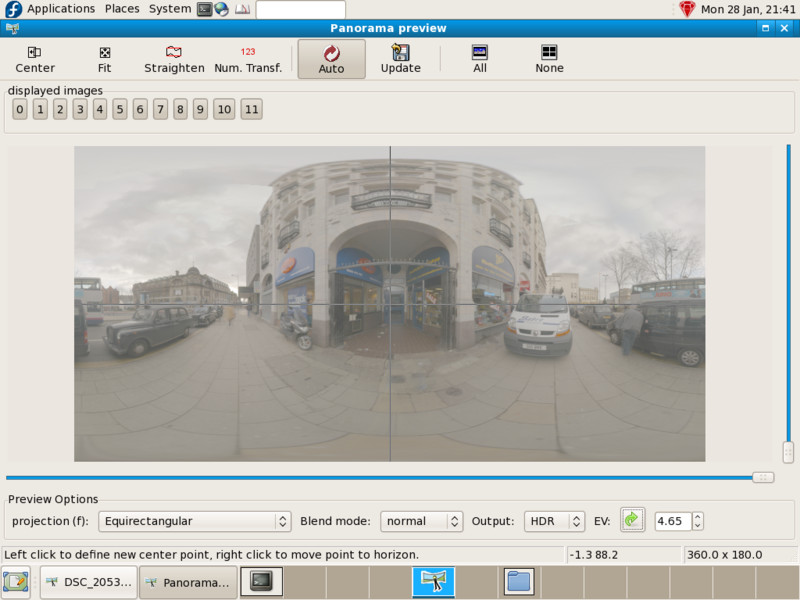
Now the panorama isn't wonky anymore:
Finally switch to the Stitcher tab and under Exposure Blending set Blended panorama (enfuse) to get enfused output. I also set Blended exposure layers so we can see each bracketed exposure as a separate panorama.
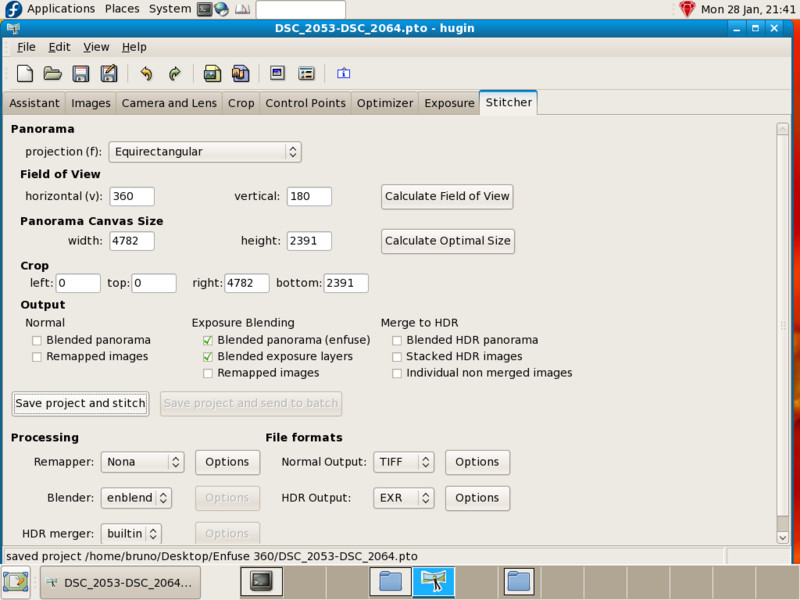
Then watch and wait, this is a good opportunity to put the kettle on. First nona remaps the input images:
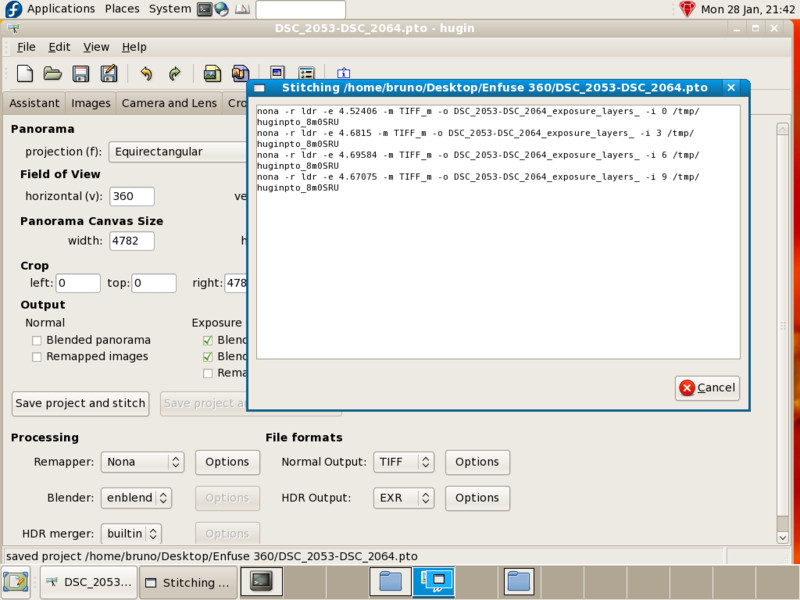
Then enfuse merges these into four separate stacks, one for each of the four directions:

Then finally enblend merges these into a single final panorama:
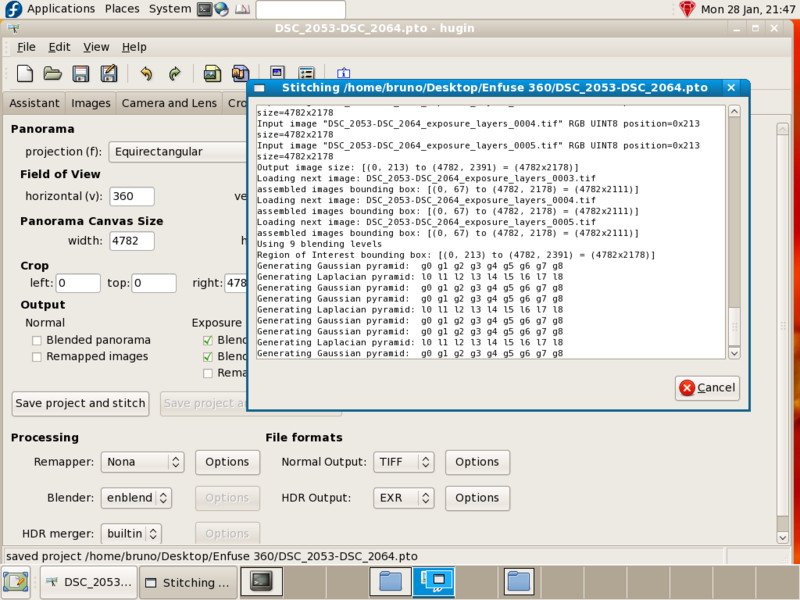
All done, it's worth having a look at the various panoramas created by this process.
First is the 0EV 'base' panorama, this is mostly ok since this is the central exposure, but there are problems: The ground, taxis and some parts of buildings are very underexposed and areas of the sky are overexposed:
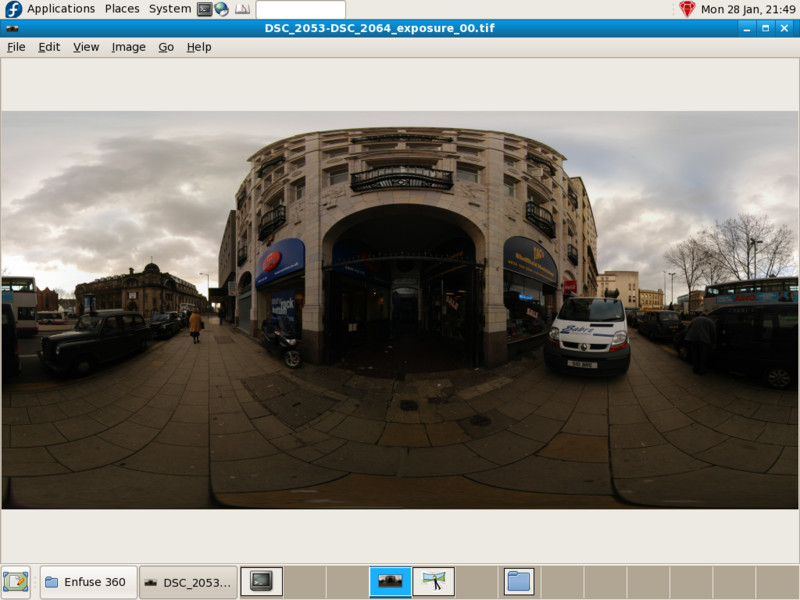
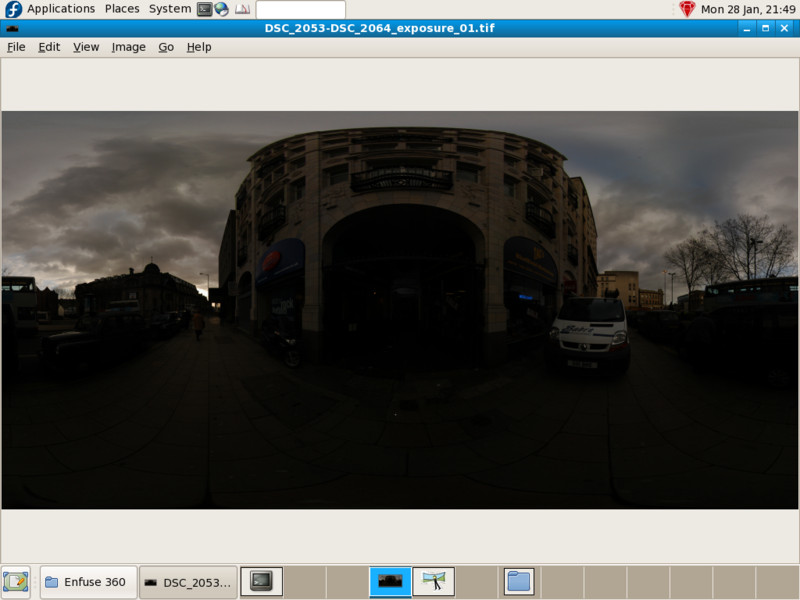
Secondly is the -2EV 'dark' panorama, this is nearly entirely underexposed though there is sky detail in the areas that are overexposed in the first panorama:
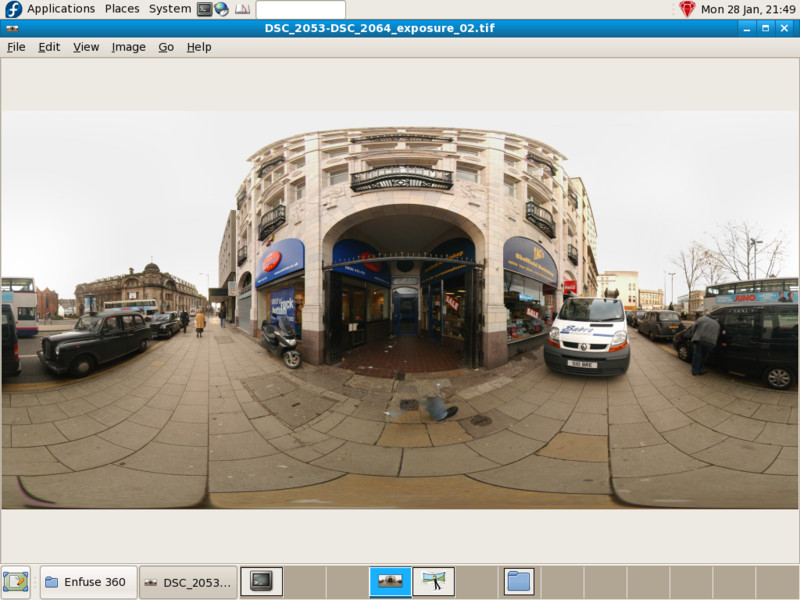
Third is the +2EV 'light' panorama, the sky and some of the buildings are very overexposed, but there is lots of detail in areas that are underexposed in the 'base' 0EV panorama.
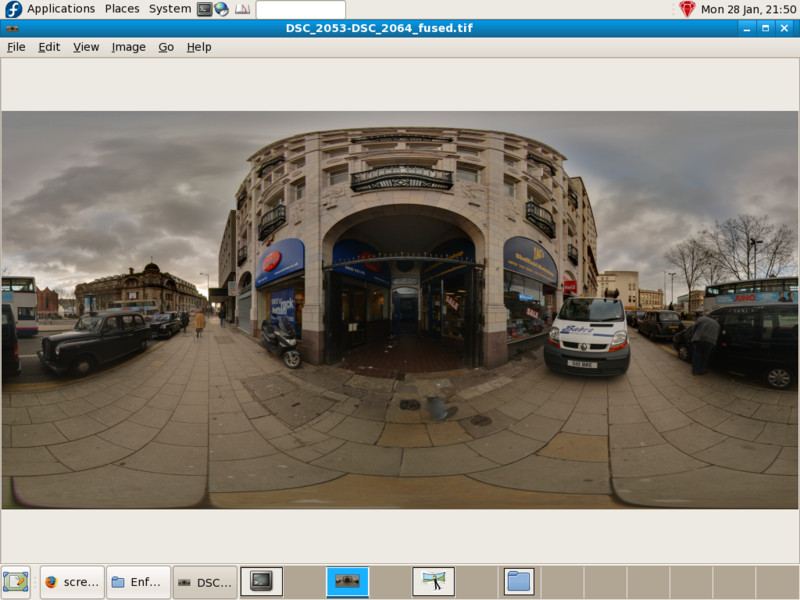
Finally is the 'enfused' panorama itself, taking well exposed areas from all three of the exposure levels:
Equirectangular panoramas are not so easy to view, one thing to do is to turn it into a Quicktime QTVR panorama:
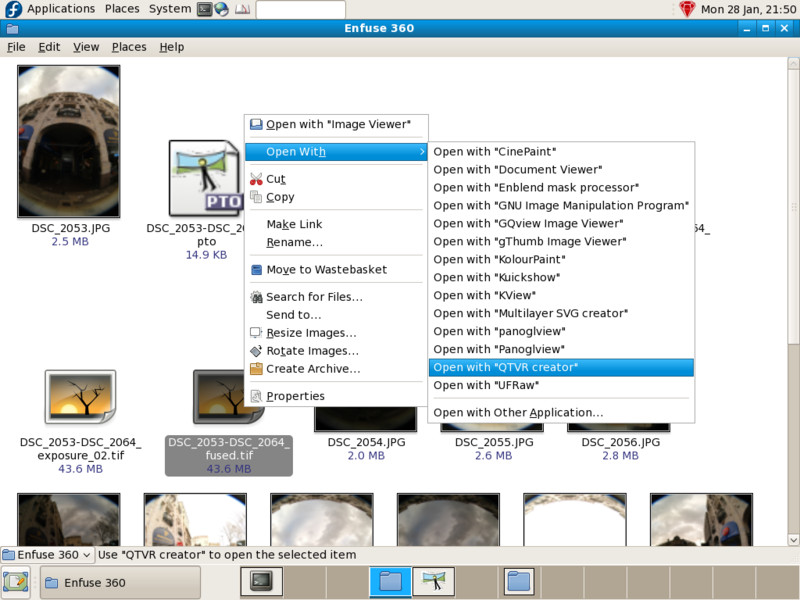
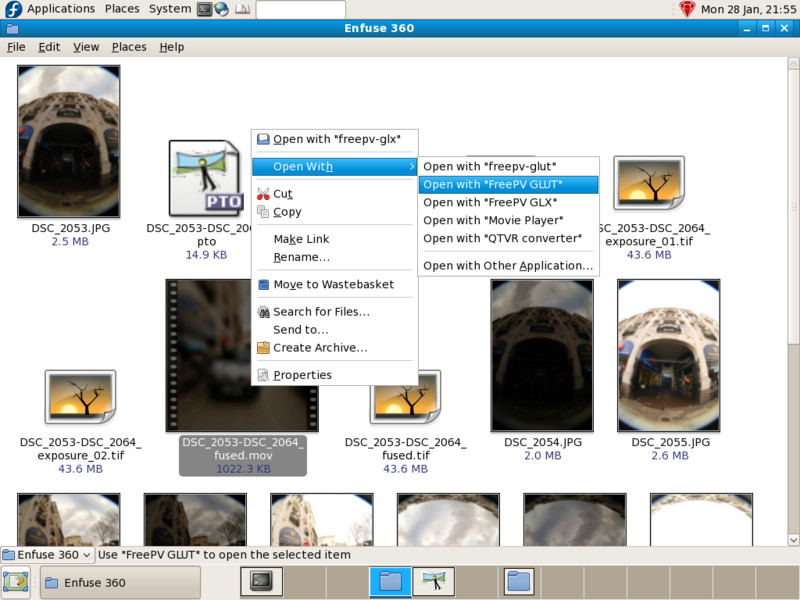
...and open it in a QTVR viewer such as freepv:
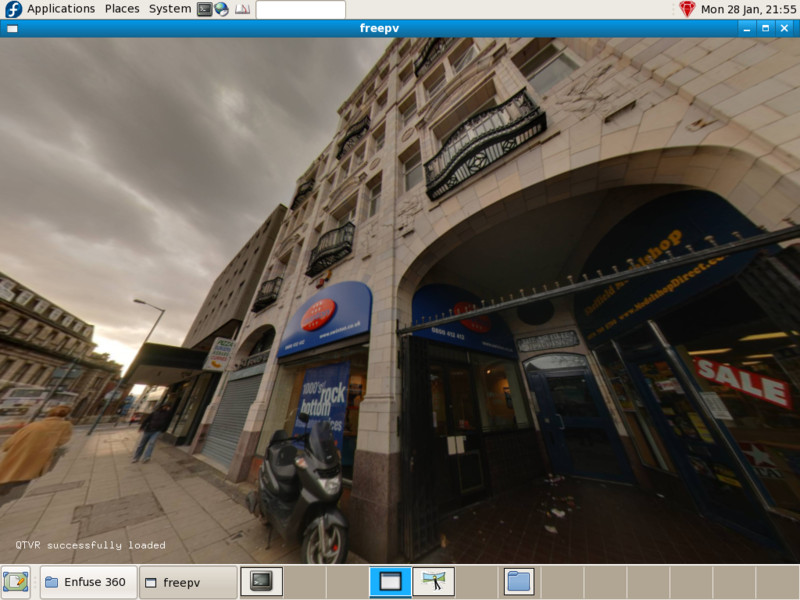
Freepv does nice OpenGL fullscreen viewing of QTVR panoramas:
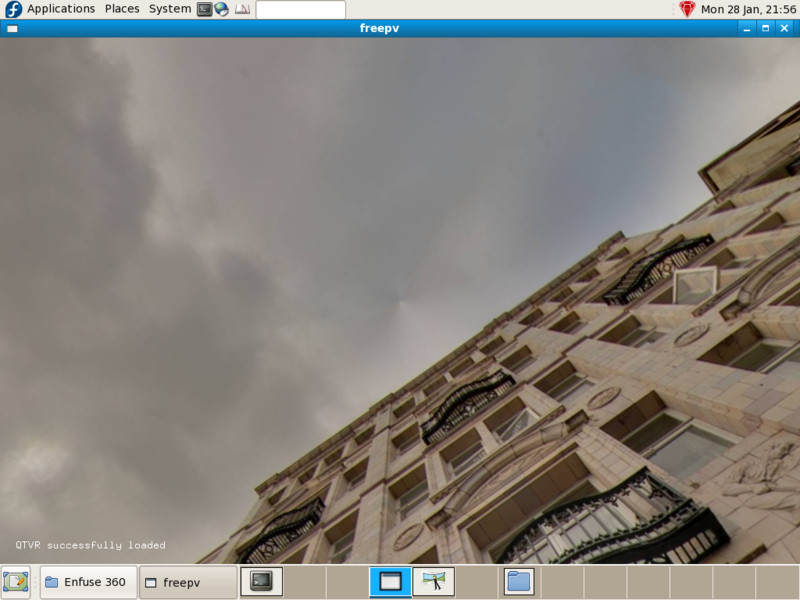
One problem with enfuse and enblend is that they don't know what to do with the zenith and nadir of equirectangular images, the result is so called zenith vortex artefacts:
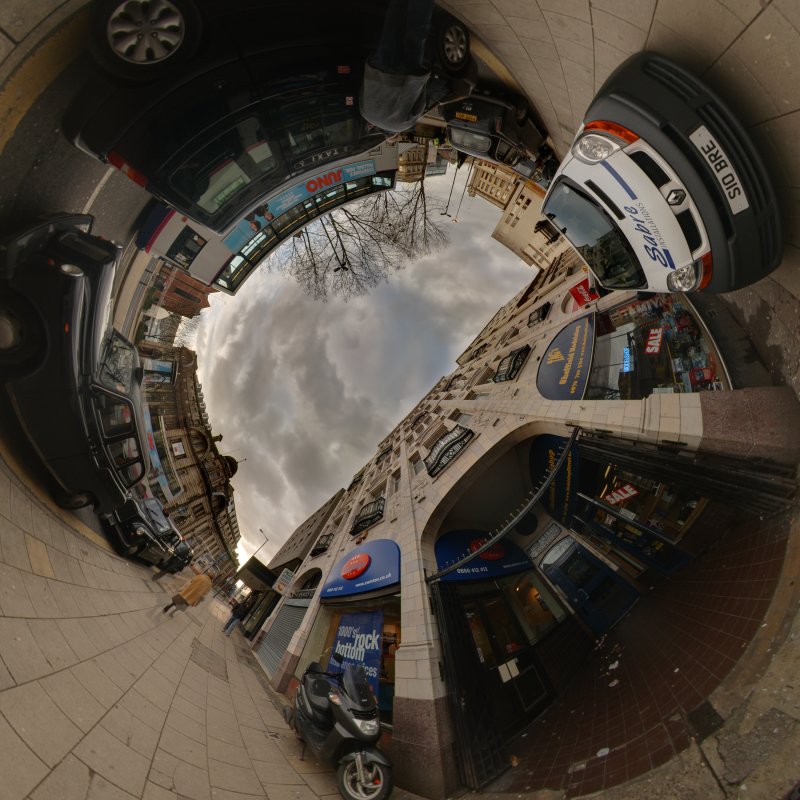
Another way to view a 360° panorama is as a stereographic image created by loading the enfused equirectangular into Hugin and setting the output Projection to Stereographic:
Finally, here is the generated QTVR version.
About this scene
This is Fitzalan Square, Sheffield. You should be able to tell by the black taxis, double-decker buses, pavement parking and general air of gloom that this is somewhere in England.
January 2008 Bruno Postle
