Hugin tutorial - Stitching flat scanned images
This tutorial covers another non-panoramic usage of Hugin - Taking two or more partial scanned images of a large object, such as an LP cover, map or poster, and stitching them seamlessly into a single final image.
Note: This tutorial has been prepared using the 2014.1.0 version of Hugin, and should be applicable for Hugin-2013.0.0 and later. The rest of this article assumes that you are familiar with basic photographic stitching using Hugin.Here is a page that is too big to fit in the scanner and has to be scanned in two parts. These can be assembled in the gimp, but each scan is rotated differently and it is nearly impossible to line them up.
You can download the two photos used in this example (scan-1.jpg, scan-2.jpg) and try it yourself.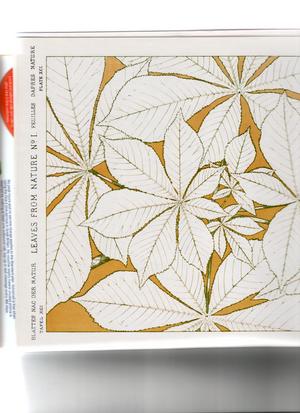
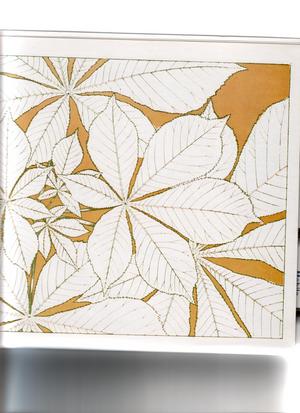
The solution is to use Hugin and Panorama Tools to rotate and align the pieces perfectly.
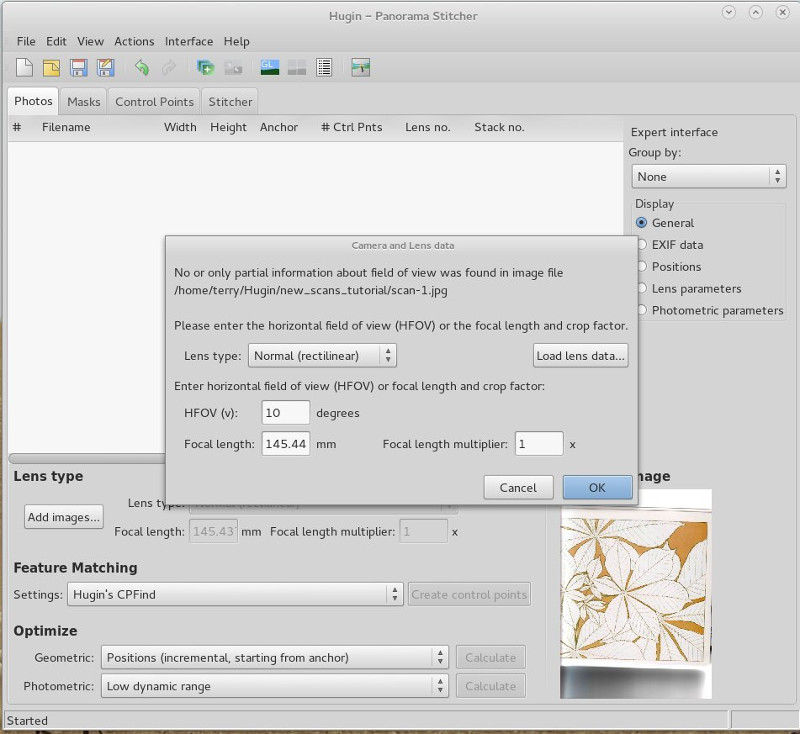
Start by launching Hugin, then select Interface -> Expert. This mode provides access to functions that we need.In the Photos tab select Add images.
Panorama Tools expects images to be photographs taken with a camera. Obviously this is not the case, but in fact a scanned image is very similar to a simple Rectilinear photo taken with a 'perfect' camera - A camera with zero pitch, zero yaw and zero lens distortion.
We don't know the FOV (Field of view) of this imaginary camera, but it doesn't matter since the picture is the same regardless (setting any mid-range value between 5 and 40 degrees would probably be ok). Just enter 10 in the HFOV(v): and select OK. You may have to do this for each image.
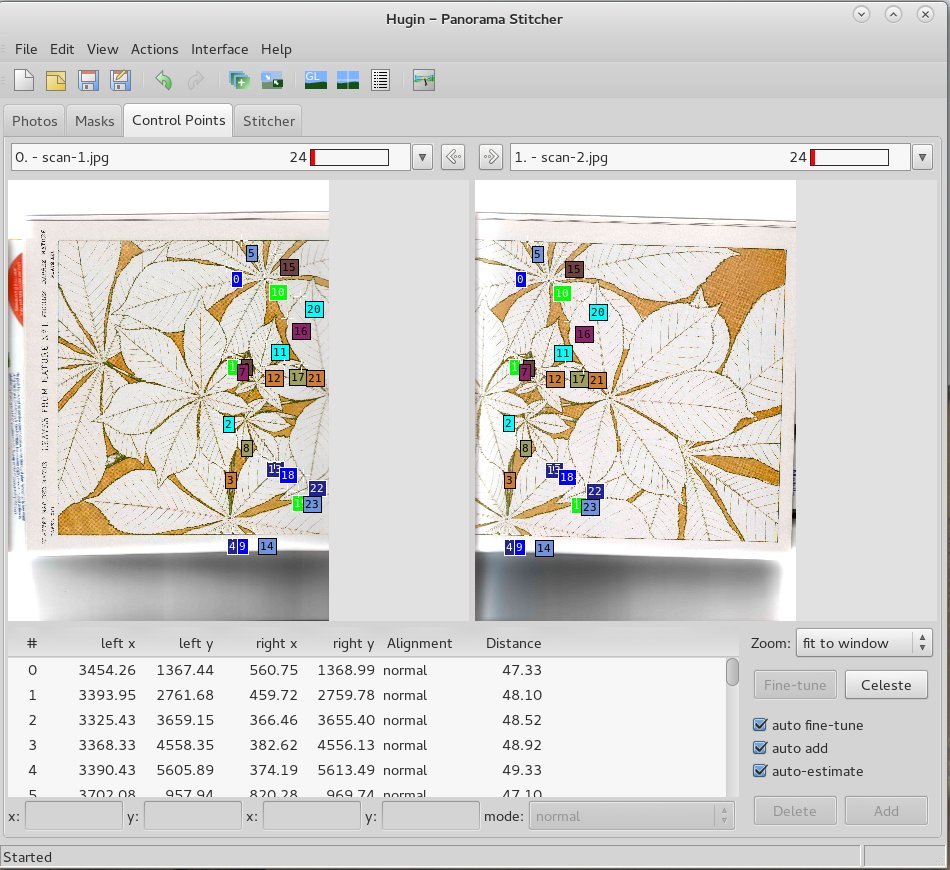
Switch to the Control points tab. Add a series of control points for each pair of images, just as you would when stitching two photos together.
Tip: You you need at least two control-points per pair of images, but more points will allow the optimizer to find a better alignment. This can be done using Hugin's CPFind and selecting Create control points.
Switch to the Photos tab.
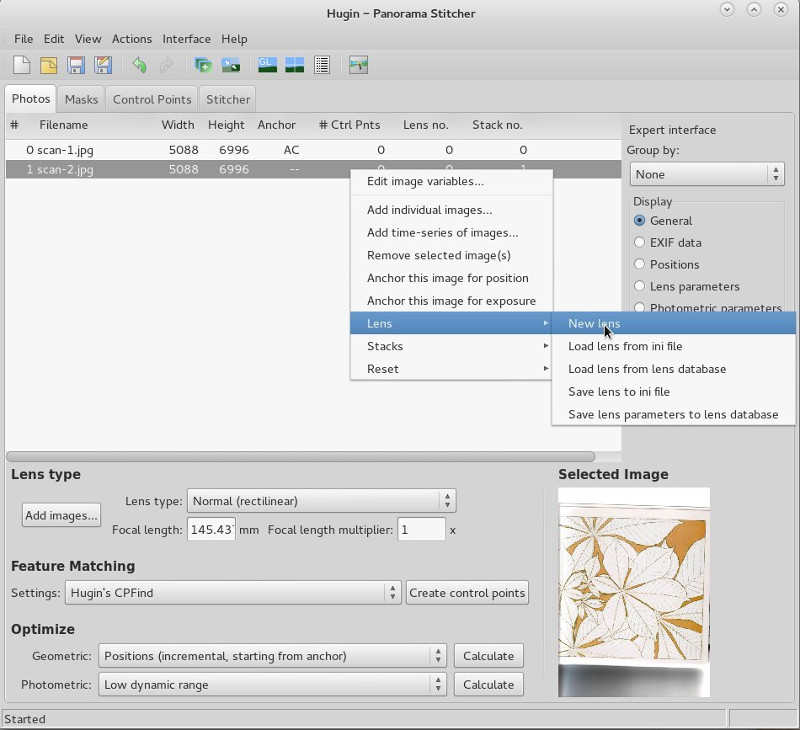
Still in the Photos tab we go to Optimize, and for this project we use Mosaic mode, in the Geometric: menu select Custom parameters then select the Optimizer tab. Use the left mouse to on Yaw(y) and Pitch(p) and Unselect all, then Select all on X(TrX), Y(TrY), and Z(TrZ).
Note, that an alternate approach is to optimize by setting r,v,d,e for all images other than the anchor, which would have only Roll (r) selected in Image orientation and Hfov (v),d,e selected in Lens parameters.
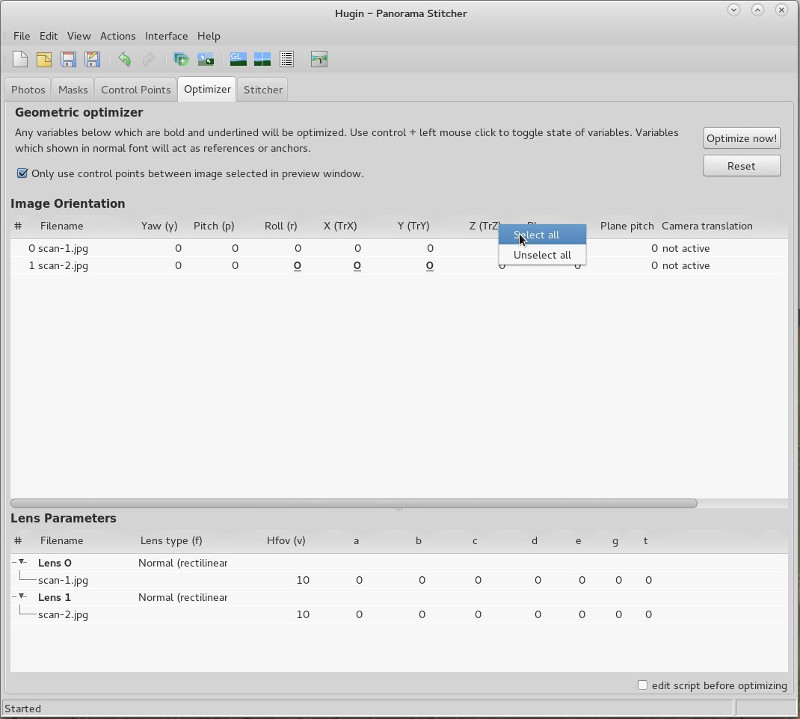
When it is done you will need to select the Optimize now! button. Now is a good time to use the Fast Panorama preview window to check that everything is going to be OK.
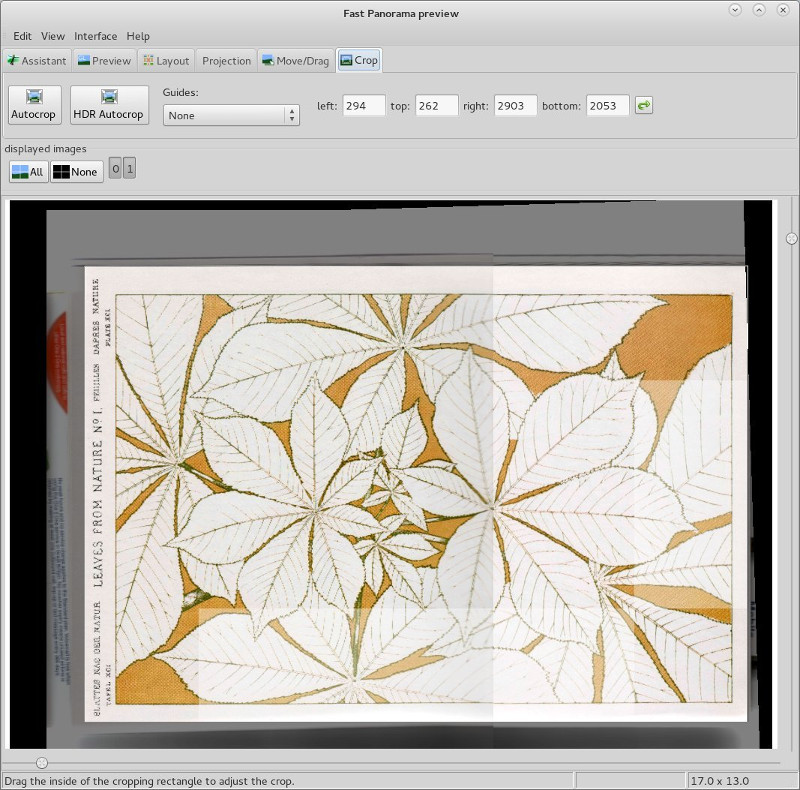
Select Projection and set to rectilinear, then drag the window sliders to set suitable fields of view.
Select Move/Drag to position the image using Mosaic mode, and then select Crop and drag the inside of the cropping rectangle to adjust the crop.
That's it...you can now use the Stitcher tab to create a permanent output file as usual.
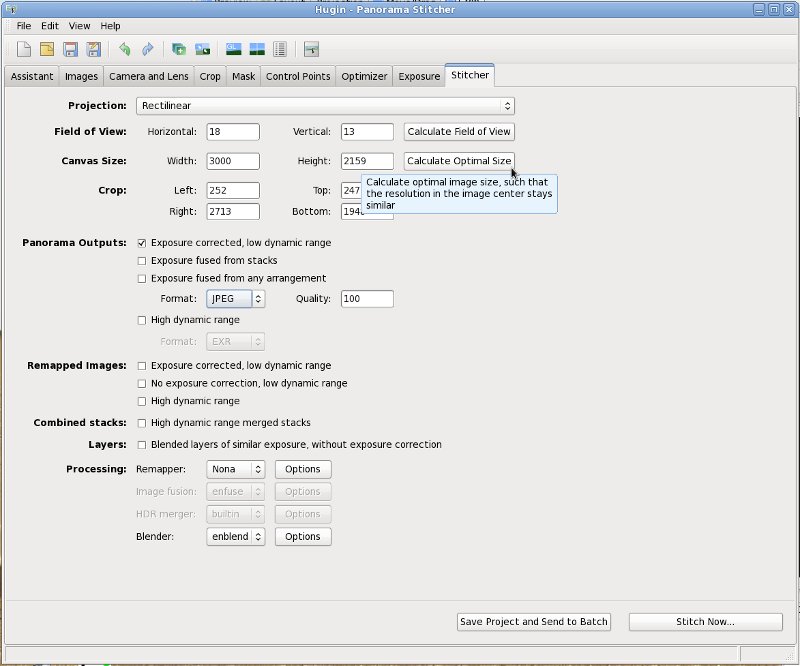
In the Stitcher tab select Calculate Optimal Size, set your outputs and then Stitch Now...
We have used Calculate Optimal Size for this example because the images have been scanned from printed material and the optimal size will minimize any pattern effects that might occur if the resulting stitch is scaled down.
Advanced techniques:
You can automate
stitching scans using a script file.
Here
are two linux shell scripts that are tailored for the
example images we have used, run_scan_ptovariable.sh,
run-scan-pto_var.sh.
Download these and run them in the directory where you
saved your scanned images. You will need to edit
filenames to suit your project.
You may need to check whether your version of Hugin provides all the command line tools that are used. The first uses the ptovariable tool from Bruno Postle's perl-Panotools-Script, whilst the second uses the Hugin pto_var tool.
Other things you might want to experiment with are:
- Rotational alignment - Horizontal and vertical control points can be used to get the overall rotation perfect. See other tutorials for tips on using these types of control points.
- You are not limited to stitching two scans at a time, you can assemble as many as you like in single or multiple rows.
- A similar method can be
used to stitch photos of a surface taken from
different viewpoints and distances (such as a mural),
this is a subject for another
tutorial.
Tip: All lens distortion needs to be corrected beforehand, as d and e parameters interfere with the a, b and c lens correction parameters.
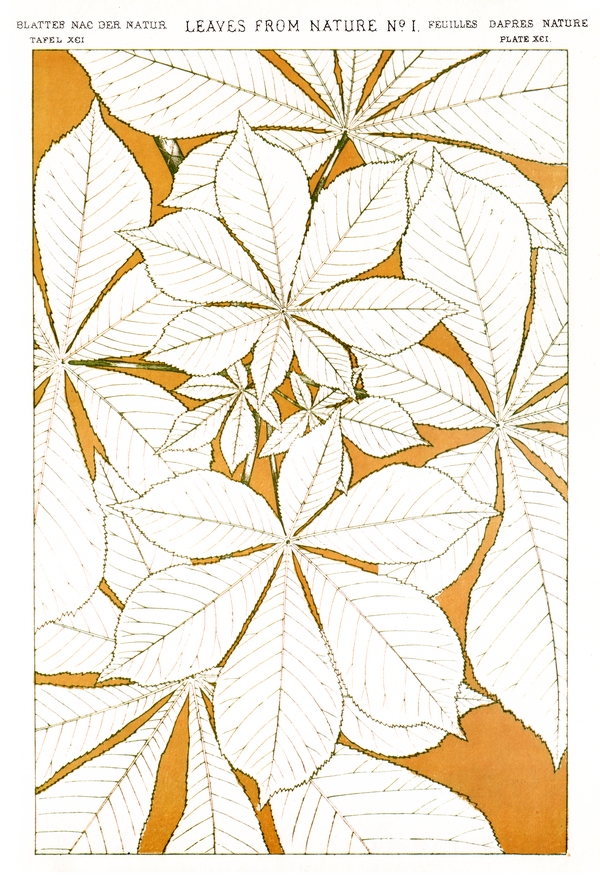
Below is a final version stitched with nona and enblend. There has been no manual re-touching, however the join is completely invisible.
About
this Picture
The Grammar of Ornament by Owen Jones, was published in 1856 and is a landmark of Victorian architecture, printing and design. The final chapter; Leaves and flowers from nature was extremely influential in the development of the Arts and crafts and Art Nouveau movements.
Author Bruno Postle - Created March 2005. Updated May 2005.
Updated for Hugin
2013.0.0 and later, Aug 2014 Terry Duell.
